How to Win in DROPZONE
Mid-game rotations, endgame holds, and the revive discipline that closes Solo Duo Squad games.
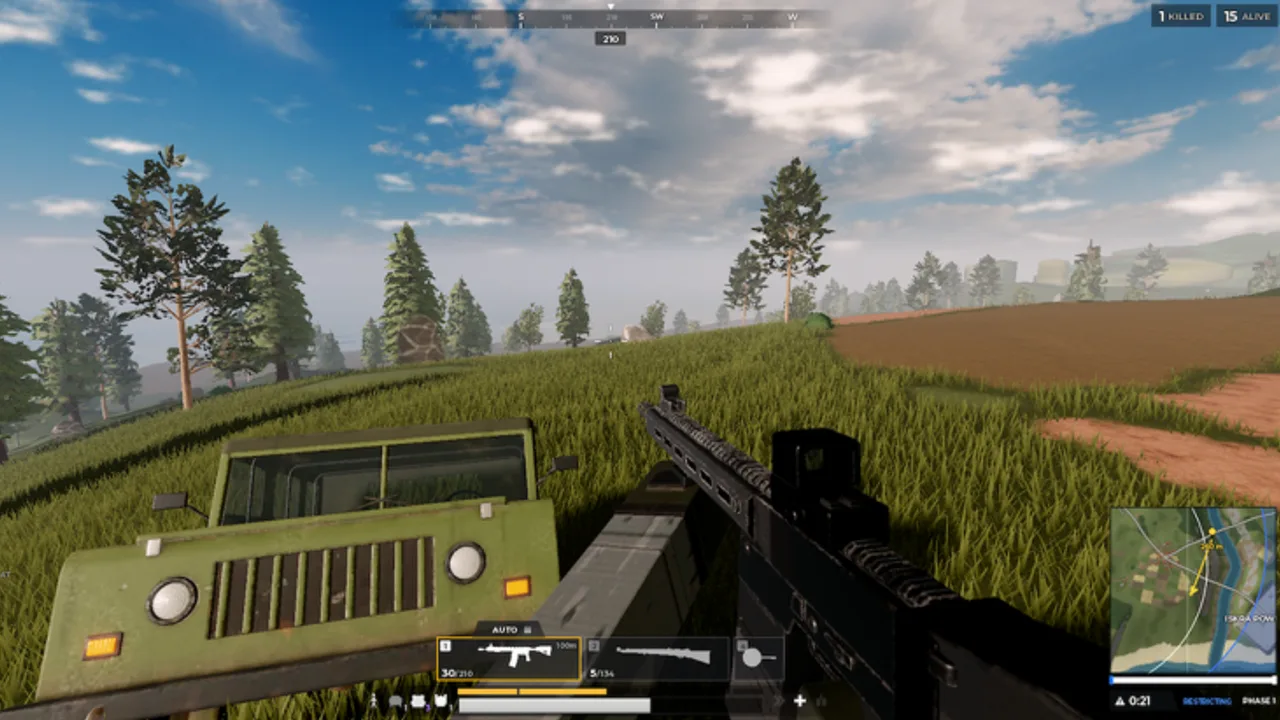
Winning DROPZONE is less about one heroic spray and more about stacking small advantages until the final circle has only your team left. This guide focuses on mid-game rotations, endgame compounds, third-party timing, and Duo/Squad revive discipline inside a 100-player Roblox battle royale with shrinking zones, knock/revive/spectate, and real-gun loot. Use it after you can already survive early game via Getting Started, How to Play, and Landing Spots.
What a win actually requires
A DROPZONE win usually needs: a completed kit (AR + armor Lv2/3 + heals + a secondary role gun), circle priority more often than your enemies, and the discipline to take favored fights only. Kar98k, M24, AWM, and Mk14 create picks; AKM, HK416, and SCAR-L finish buildings; Vector and UMP45 win stairs. Vehicles and airdrops are accelerants—see Vehicles and Airdrops—not substitutes for positioning.
Mid-game rotations that print placement
Once the first POI is behind you, stop thinking like a looter and start thinking like a rotator.
- Refresh info — where is the next zone, who shot nearby, which roads still sound busy?
- Move with margin — leave before blue forces a straight-line sprint.
- Use cover chains — settlements, riverbanks, ridge folds near radar-style hills; avoid naked fields on both KOBALT and AKANE.
- Arrive with a plan — which building do you want, and which side do third parties enter from?
Mid-game deaths cluster around late rotates and greed. Extra side houses are not worth entering the next circle from the worst angle. If your armor is still Level 1, prioritize upgrades during the rotate rather than hunting highlight kills. Deeper timing patterns live in Zone Rotation.
Third-parties: the real mid-game boss
When you hear a fight, decide among three options: hard swing, soft crack, or ignore.
- Hard swing when you have numbers, armor, and a short path to their backs.
- Soft crack when you can take one free pick from range (DMR/sniper) then reposition.
- Ignore when you are under-kitted, the zone is pulling opposite, or two other teams are already collapsing.
The team that wins a fair 1v1 is often the team that dies to the third party. Finish quickly, loot only high-impact items (armor upgrades, heals, better AR/sniper), and leave the bodies. Lingering is how “easy cleanup” becomes your death screen.
Endgame compound logic
Final circles reward first move into the right building, not the flashiest entry. Look for:
- Solid walls and multiple exits.
- Angles that see common rotates without exposing your whole squad.
- Proximity to the estimated next shrink so you are not evacuated into the open.
Smoke and utility matter more each circle. If you lack utility, play slower and force enemies to cross into your aim. Dismount vehicles far outside the final rings—cars and bikes in late circles are audio billboards. Boats should already be abandoned unless water still defines the edge.
Hold height when the circle allows (radar-like hills taught that lesson earlier), but be ready to surrender height if the zone makes you a silhouette. Winning endgames is often a sequence of small peeks and trades, not a single full-sprint push.
Duo and Squad revive discipline
This is where most promising games die.
Do revive when: you have cover, a teammate holding an angle, the downed player is not in the open crossfire, and the zone timer allows the channel. Do not revive when: you are alone in a field, two enemies still have angles on the body, or a third party’s footsteps are already close.
Trade math beats hero math. If a teammate is knocked, the living players should either win the trade together or reset entirely. Staggered 1-outs into a window hand the enemy free knocks. After a wipe threat, one player can watch while another revives—never both staring at the downed teammate.
Use spectate intelligently when you are eliminated: call remaining enemy counts, utility, and rotate direction. A good dead caller wins more Duo/Squad games than a silent survivor.
Solo closing habits
Solo winners gatekeep information. Avoid unnecessary third-parties, disengage when audio shows overlapping teams, and play for zone center-side positions. Your job is to be the third party, not the content. Armor upgrades still beat vanity sniper swaps—check Loadouts and the Weapons Tier List if your kit feels inconsistent.
Carry patterns without ego
Carrying a Duo means you take the hardest entry angle only when your teammate can trade. It means you mark armor crates for them, you do not steal every SMG if they are the entry fragger, and you abort airdrops that would 1v3 your under-armored partner. Momentum is useful; griefing your own revive timer is not.
Session checklist for more wins
- Review one death cam per loss: rotate late, bad revive, or fair fight lost?
- Dedicate sets of matches to mid-game silence (no greed fights).
- Dedicate other sets to disciplined third-parties only.
- Recheck Patch Notes after updates like V2.7 hitbox and loot changes.
- Keep binds comfortable via Controls; claim Codes; ignore risky shortcuts discussed under Scripts.
Mindset
DROPZONE’s beta will keep tuning hitboxes, vehicles, and spawns. The durable skill is decision quality under zone pressure. Land smart, rotate earlier than you want, third-party with an exit, and revive like the next circle depends on it—because it does. Stack those habits and chicken dinners stop feeling random.
When mid-games stabilize, reinvestment into landing quality and vehicle discipline pays exponential returns. Return to Landing Spots and Vehicles and Airdrops whenever your deaths move earlier or later in the match timeline, and keep this How to Win page as the closer.
Frequently Asked Questions
Quick answers to the most common DROPZONE questions.
What matters most for winning DROPZONE?
Circle priority, armor upgrades, and favored fights. Mid-game rotation quality usually decides more winners than raw hot-drop frags.
How should Duos and Squads handle revives?
Revive only with cover and a watching teammate. Win the trade or fully reset—never staggered peek for a body in the open while enemies still hold angles.
When should I third-party a fight?
When you can arrive fast with armor advantage and leave immediately after. Ignore fights that pull against the zone or already include multiple collapsing teams.
Should I drive in the final circle?
No. Dismount far out and walk. Late-circle vehicles announce your position and rarely provide real cover against organized peeks.
How do I practice winning without only hot dropping?
Run sessions focused on early rotates and top-10 survival, then sessions focused on disciplined third-parties. Add hot drops only after mid-game decisions feel stable.