DROPZONE Guides Hub
Tactical walkthroughs for Solo, Duo, and Squad — from first drop to final circle.
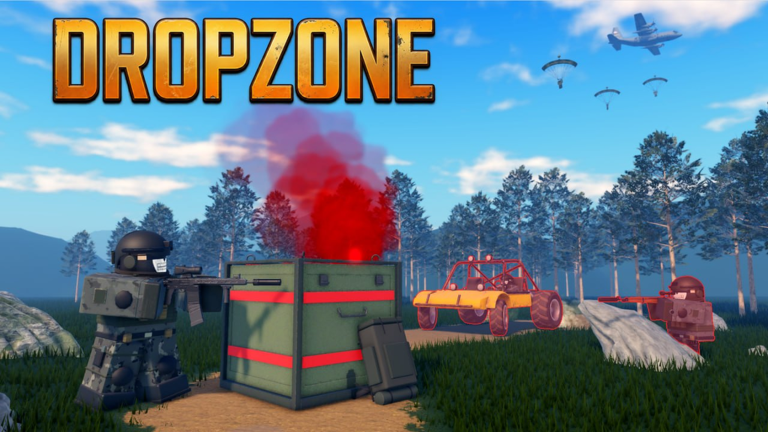
Welcome to the Guides Hub for DROPZONE, the Roblox battle royale from Dropzone Battle Royale. Matches put up to 100 players into Solo, Duo, or Squad queues with TPP or FPP, a staging-island warm-up, a plane jump, real-gun loot, a shrinking zone, knock/revive/spectate, and cars, motorcycles, and boats. This hub is the map of every tactical article on the wiki so you can move from first match to consistent top-ten finishes without guessing.
Use these guides alongside Codes, the Weapons Tier List, Loadouts, Controls, Patch Notes, and the Scripts hub when you need redemption steps, meta guns, keybinds, or balance context.
Start here if you are new
New players should open Getting Started first. It covers queue choice, staging island habits, the plane jump, early loot priorities (armor Lv1–3, AR + DMR/sniper, heals), and how Credits plus XP unlock skins without distracting you from fundamentals. Pair it with How to Play for HUD reading, match flow, first-circle decisions, and the difference between hot and cold openings.
DROPZONE plays like a classic battle royale adapted to Roblox: you warm up on the staging island, board the plane, jump toward a point of interest, loot under pressure, then rotate as the zone shrinks. Maps include KOBALT (about 2.4×2.4 km) and AKANE (about 2.0×2.0 km). Hot POIs such as the power plant and radar station reward risk with better guns and armor; edge settlements and open ground trade loot quality for quieter contested rates. Knowing which article answers which question saves more lives than another random AR swap.
Landing, loot, and early fights
Landing Spots breaks down hot versus cold drops, power-plant chaos, radar-hill angles, river crossings, and settlement edges. Landing well is half the early game: a bad drop into five other squads with no armor turns into a spectator seat before the first circle closes. A smart cold drop into a settlement can still yield an AKM or HK416, Level 2 armor, and a vehicle path toward center.
After you land, loot priority is consistent across modes. Grab a primary (AKM, HK416, SCAR-L), a secondary that covers mid-to-long range (Kar98k, M24, AWM, or Mk14), a close-range option when available (Vector, UMP45), then armor and healing. Deepen that kit with Armor and Healing for Level 1–3 helmets, vests, backpacks, medkits, boosts, grenades, molotovs, and frying-pan utility, plus Attachments and Scopes for red dots, holos, 2x–15x optics, grips, suppressors, and stocks. V2.7 improved loot spawn density and hitbox reliability, so contested buildings are worth fighting for if you arrive with a plan. Cross-check gun strength on the Weapons Tier List and package ideas on Loadouts. Deepen the kit with Attachments and Scopes for optic and grip choices, and Armor and Healing for helmet, vest, backpack, medkit, and boost priorities.
Movement, vehicles, and airdrops
Vehicles and Airdrops covers cars, motorcycles, and boats: when they save a rotate, when engine noise and open sightlines get you third-partied, and how to contest airdrops without feeding a 1v3. Airdrops are high-value magnets. Treat them as optional power spikes, not mandatory objectives—especially in Solo.
Zone Rotation explains edge play, timing into the next circle, and how to avoid becoming the free kill between two rotating teams. Zone damage plus bad positioning loses more games than raw aim. Learn to leave early when you are under-looted, hold strong compounds when the circle favors you, and use rivers and ridges as natural cover on both KOBALT and AKANE.
Closing games and team discipline
How to Win focuses on mid-game rotations, endgame compounds, and Duo/Squad revive discipline. Knocked teammates are opportunities if you trade smartly and risks if you ego-challenge without cover. Spectate intelligently after you die so you can call rotations for your squad. Solo players should treat every third-party as the real enemy: take clean fights, disengage when audio shows a second team, and play for placement when the lobby is stacked.
How to use this hub
- Finish Getting Started and How to Play before grinding ranked-style sessions.
- Study Landing Spots for the map you queue most.
- Stabilize survivability with Armor and Healing, then mount optics via Attachments and Scopes.
- Add Vehicles and Airdrops and Zone Rotation once you survive to mid-game consistently.
- Polish closes with How to Win.
- Refresh meta context via Patch Notes after updates like V2.7 (hitbox fixes, vehicle ADS fixes, loot spawn increases).
DROPZONE supports PC and mobile. Whatever you play on, the same fundamentals apply: land with intent, loot with a priority list, rotate before the zone forces you, and only take fights you can finish before a third party arrives. Bookmark this Guides Hub, jump into the article that matches your current weakness, and stack small improvements every match.
Frequently Asked Questions
Quick answers to the most common DROPZONE questions.
Which DROPZONE guide should I read first?
Start with Getting Started, then How to Play. After a few matches, read Landing Spots and Zone Rotation so your drops and circles improve faster than raw aim alone.
Do these guides cover Solo, Duo, and Squad?
Yes. Core loot and zone advice applies to all queues. How to Win and Vehicles and Airdrops call out Duo/Squad revive discipline and airdrop contest risks explicitly.
Where do I check weapons, attachments, and controls?
Use the Weapons Tier List and Loadouts for gun kits, Attachments and Scopes for optics and grips, Armor and Healing for survivability, and Controls under Players for PC and mobile inputs.
Are the guides updated for V2.7?
Yes. Advice assumes current beta behavior including improved loot spawns, hitbox fixes, and corrected vehicle ADS. Recheck Patch Notes after every major update.